We connect with apps and webpages in large part thanks to animations. By making it more seamless and engaging or just by adding some aesthetic flair, they can be used to improve the user experience. From novice to pro, these six animation libraries are sure to give you the tools you need to create truly stunning work. Discover what each library can offer and find out how they integrate with Vue in this blogpost!
The following libraries will be discussed, along with how to install them, how to use them, and some circumstances where they might be helpful:
- v-wave
- vue-animate-onscroll
- vue-kinesis
- vueUse/motion
1- v-wave
By simply adding a new v-wave property, this library enables us to add lovely ripple effects to markup components when they are clicked, much like how the ripple effect functions in material design.
This library has an intriguing feature in that it functions well with elements that are static in their positioning and can automatically determine the color of the wave depending on the parent element. You may also specify a favorite hue, though, as taken for granted.
Installation
We can easily install v-wave with:
npm i v-wave
Or include its CDN:
<script src="https://unpkg.com/v-wave"></script>
And once the installation is completed, we can load it in a Vue 3 project like so:
import {createApp} from 'vue'
import VWave from 'v-wave'
import App from './App.vue'

createApp(App)
  .use(VWave)
  .mount('#app')
For Vue 2, we also have:
import Vue from 'vue'
import VWave from 'v-wave'

Vue.use(VWave)
Usage
Simply add the v-wave v-wave attribute to any element you want to add the ripple effect to in order to start utilizing this library:
<button v-wave>Click me!</button>
<button v-wave="{ color: 'blue' }">Click me too!</button>
As a result, when we run this example, we get the following results:
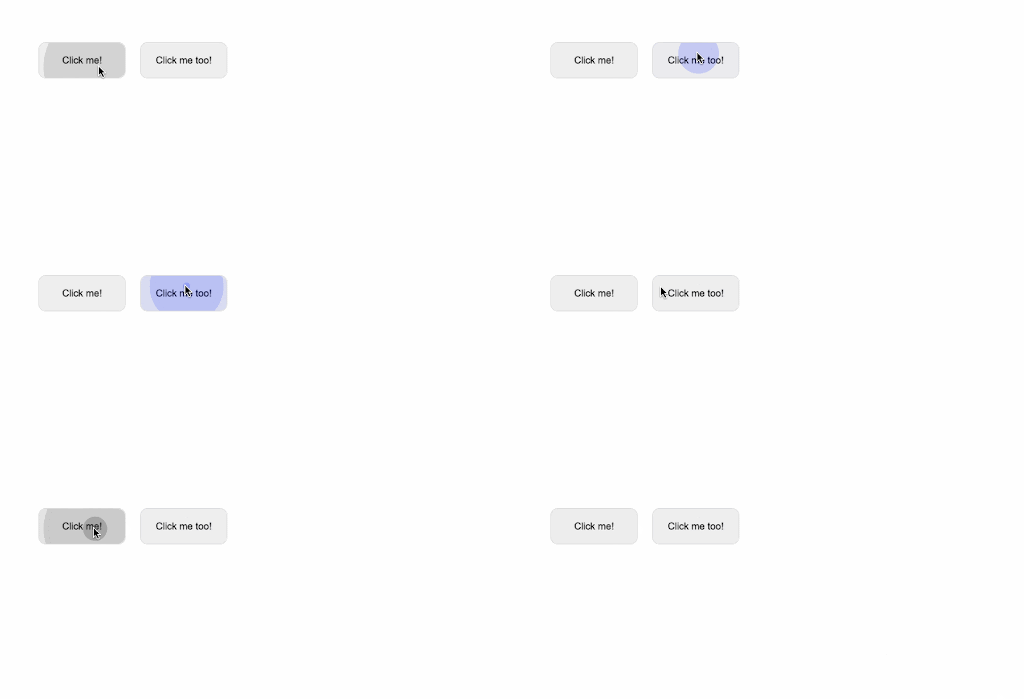
By adjusting the ripple effects' initial opacity, length, easing, and a variety of other factors, we may further tailor their appearance:
<div
  v-wave="{
  color: 'rebeccapurple',
  initialOpacity: 0.5,
  duration: 2,
  easing: 'ease-in',
}"
>
  Click me!
</div>
which will result in:

Here’s also a link to the v-wave documentation for further information.
2- vue animate scroll
This library has directives for animating components as they scroll into view. However, unlike the other libraries, this one does not explicitly offer auxiliary classes or components that enable us to include animation in our program. Instead, it offers directives that let us activate animations whenever a portion of our application is scrolled into view.
Installation
We can quickly install this library by using the following command:
npm install vue-animate-onscroll
And after the installation is finished, we can import it into our Vue entry file by doing something like this:
import Vue from 'vue'
import VueAnimateOnScroll from 'vue-animate-onscroll'

Vue.use(VueAnimateOnScroll)
Usage
We may animate an element on scroll after it has been imported as a Vue plugin by adding the v-animate-onscroll attribute to the element and adding our animation names:
<div v-animate-onscroll="spin">Rotate me once upon scroll</div>
But before the animation starts, as was previously said, we still need to define a CSS animation name spin. Below is a more pertinent illustration:
<template>
  <div id="app">
    <div class="flex-center">
      <div>
        <h1>Awesome application</h1>
        <p>
          Lorem ipsum dolor sit amet consectetur adipisicing elit. Perspiciatis,
          eum.
        </p>
      </div>
    </div>
    <div class="main">
      <img src="path/to/img" v-animate-onscroll="'swing'" />
    </div>
  </div>
</template>

<style>
/* create swing animation */
@keyframes swing {
  10% {
    transform: rotate(10deg);
  }

  40% {
    transform: rotate(-10deg);
  }

  60% {
    transform: rotate(5deg);
  }

  80% {
    transform: rotate(-5deg);
  }
}
</style>
And running this code, we have the following output:

Additionally, it's important to note that an element's accompanying animation is only ever activated once by default when it scrolls into view. However, we can replace that with v-animate-onscroll.repeat to ensure that the animation always starts when the element is scrolled into view:
<img src="path/to/img" v-animate-onscroll.repeat="'swing'" />
The scroll directions (up or down) you want to start the animations at can also be customized:
<div v-animate-onscroll="{up: 'animationName'}">Animate me once on scroll up</div>
<div v-animate-onscroll="{down: 'animationName'}">Animate me on upon scroll down</div>

<!-- Different animations for up and down directions -->
<div v-animate-onscroll="{down: 'animationName', up: 'anotherAnimationName'}">Animate me on scroll</div>
It could take a while to build a CSS animation from scratch. Because of this, it's a typical strategy to use this library simultaneously with other animation libraries, such the well-known Animate.css. Simple integration is required; after installing the desired CSS library or including its CDN in your markup, you can simply swap out your existing animation names with those found in the library.
3- vue-kinesis
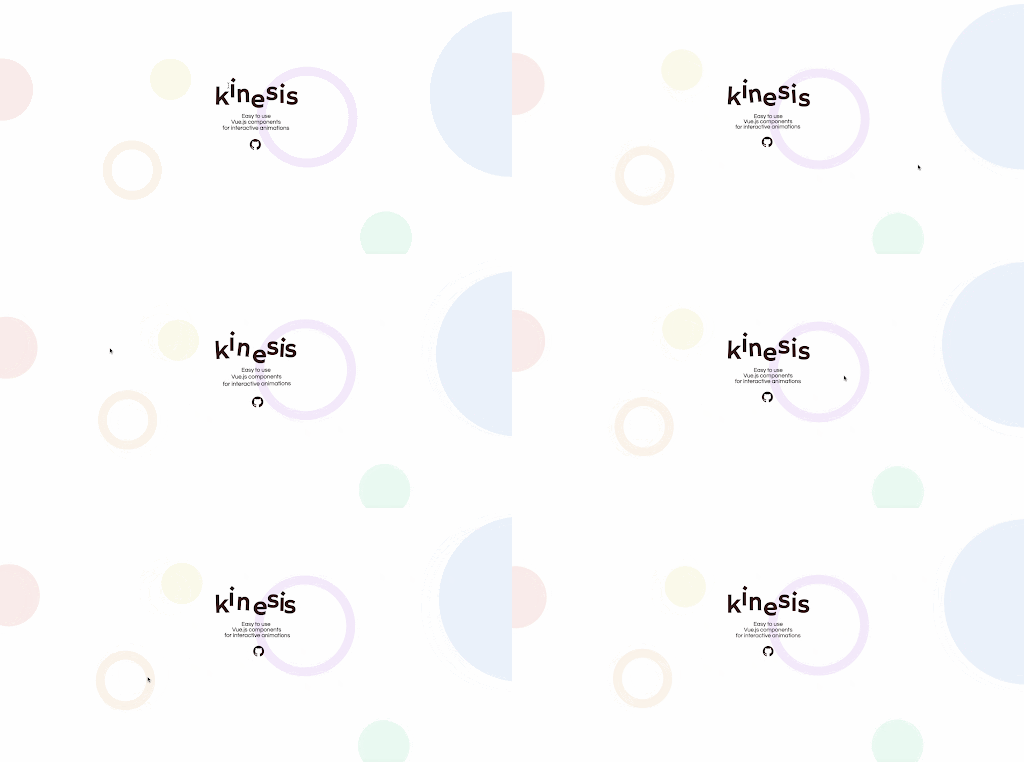
Vue-Kinesis, a potent animation library that offers a number of components that let us include interactive animation in our Vue application, comes in third. However, strangely, vue-kinesis also allows us to initiate animations with changes in audio frequency. This library automatically responds to pointer changes and invokes animation depending on mouse events.
It contains a large range of custom properties that work with its components to let us programmatically manipulate animation flows, making it simple to get the required effect.
Installation
Both Vue 2 and Vue 3 as well as the vue-browser CDN support vue-kinesis. You must first install the package in order to use this library in a Vue 3 project:
npm install vue-kinesis@next
And then import it in your entry file like below:
import { createApp } from "vue";
import App from "./App.vue";
import VueKinesis from "vue-kinesis";

const app = createApp(App);
app.use(VueKinesis);

app.mount("#app");
You can also install the Vue 2 version:
npm install vue-kinesis
then decide to import the complete library so that it can be accessed from anywhere in your project:
// src/main.js
import Vue from 'vue'
import VueKinesis from 'vue-kinesis'

Vue.use(VueKinesis);
Or only import a specific component:
import { KinesisContainer } from 'vue-kinesis'
Usage
Three parts make up this library, and each has characteristics that can be used to regulate how interactions are carried out:
- Kinesis-container : a component wrapper to enable or deactivate interactions. Additionally, moving (mouse interaction) and scrolling are available for linking the event that initiates the animation. However, mobile devices do not support the move event.
- Kinesis-element : A wrapper component that you may use to provide the animation type and sources as well as the elements to which you want to apply the animation**.**
- Kinesis-audio : When an audio source is added to the kinesis container, this component is used to provide the audio frequency that will trigger a response.
Taking the code example from the documentation page:
<template>
  <div id="app">
    <kinesis-container>
      Here, you can try to put
      <kinesis-element :strength="10"> any </kinesis-element>
      <kinesis-element :strength="20"> content you want! </kinesis-element>
    </kinesis-container>
  </div>
</template>

<script>
import { KinesisContainer, KinesisElement } from "vue-kinesis";
export default {
  name: "App",
  components: {
    KinesisContainer,
    KinesisElement,
  },
};
</script>
We have the following output:
The following output is available:
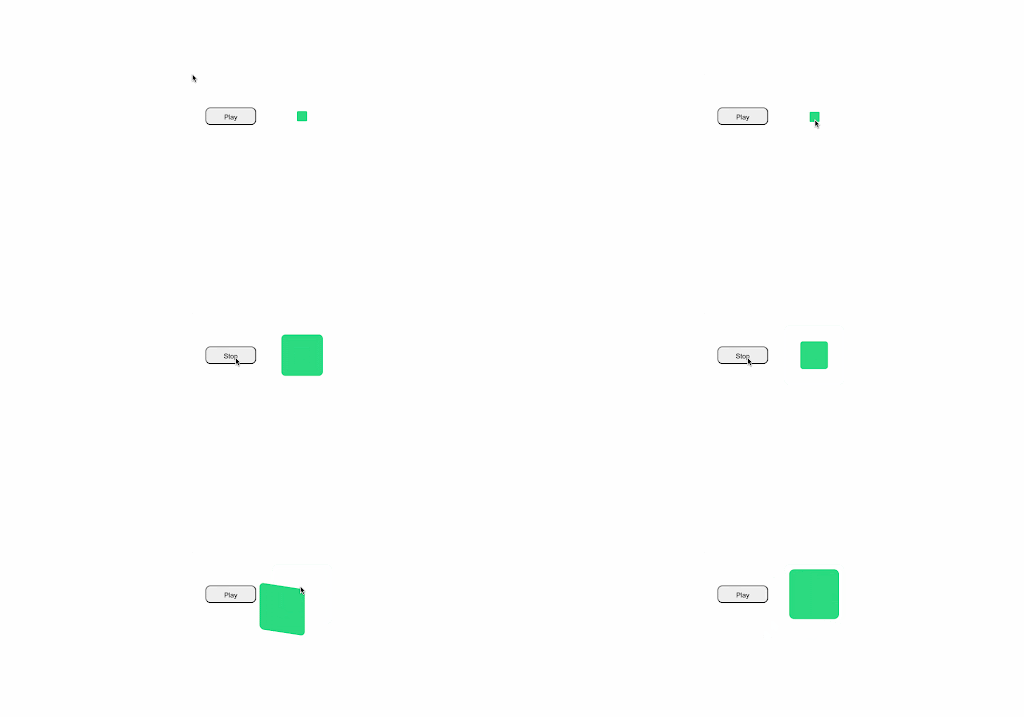
Also for the audio sample, we have:
<template>
  <div id="app">
    <div class="main">
      <div style="padding: 30px">
        <button class="play-button" @click="togglePlaying">
          {{ isPlaying ? "Stop" : "Play" }}
        </button>
      </div>
      <div style="padding: 40px">
        <kinesis-container :audio="audioFile" :playAudio="isPlaying">
          <kinesis-audio :audioIndex="50" type="scale">
            <kinesis-element :strength="10" type="depth">
              <div class="circle"></div>
            </kinesis-element>
          </kinesis-audio>
        </kinesis-container>
      </div>
    </div>
  </div>
</template>

<script>
import { KinesisContainer, KinesisElement, KinesisAudio } from "vue-kinesis";
export default {
  name: "App",
  components: {
    KinesisContainer,
    KinesisElement,
    KinesisAudio,
  },
  data() {
    return {
      audioFile: require("./josman-goal.mp3"),
      isPlaying: false,
    };
  },
  methods: {
    togglePlaying() {
      this.isPlaying = !this.isPlaying;
    },
  },
};
</script>
In this example, we established a path to an audio file and associated it to the kinesis-container. Because the kinesis-audio component is triggered by this, we set a squared div inside of it so that it responds whenever we click the button that toggles playing.
There are several other options that we may add to the vue-kinesis components; some of them are listed on their example page here.
Furthermore, as already mentioned, this library adds a kinesis (undirected movement) animation to the items it is wrapping in response to cursor changes, scroll events, or frequency from an audio file. Therefore, it serves these vistas' animation needs the best. The simple music application, however, where certain other aspects respond to the audio that is now playing, would be a significant example.
4- vueUse/motion
vueuse/motion is a addon of @vueUse. VueUse is a collection of hundreds of vital Vue Composition Utilities for dealing with numerous browser, sensor, animation, and state apis as well as other things, .The addon motion is a collection of vue composable that aims to help you add animations with a simple but powerful API.You can animate between numbers, colors, and keyframes thanks to Popmotion. You have the option of writing animations either from the script or from the template.

Installation
npm i @vueuse/motion
You can add the support for v-motion globally, by installing the plugin.
// src/main.js
import { MotionPlugin } from '@vueuse/motion'

const app = createApp(App)

app.use(MotionPlugin)

app.mount('#app')
Or if you want to import the directive code only from components that uses it, import the directive and install it at component level.
import { directive as motion } from '@vueuse/motion'

export default {
  directives: {
    motion: motion(),
  },
}
Usage
In order to use @vueUse/motion you can use the existing presets
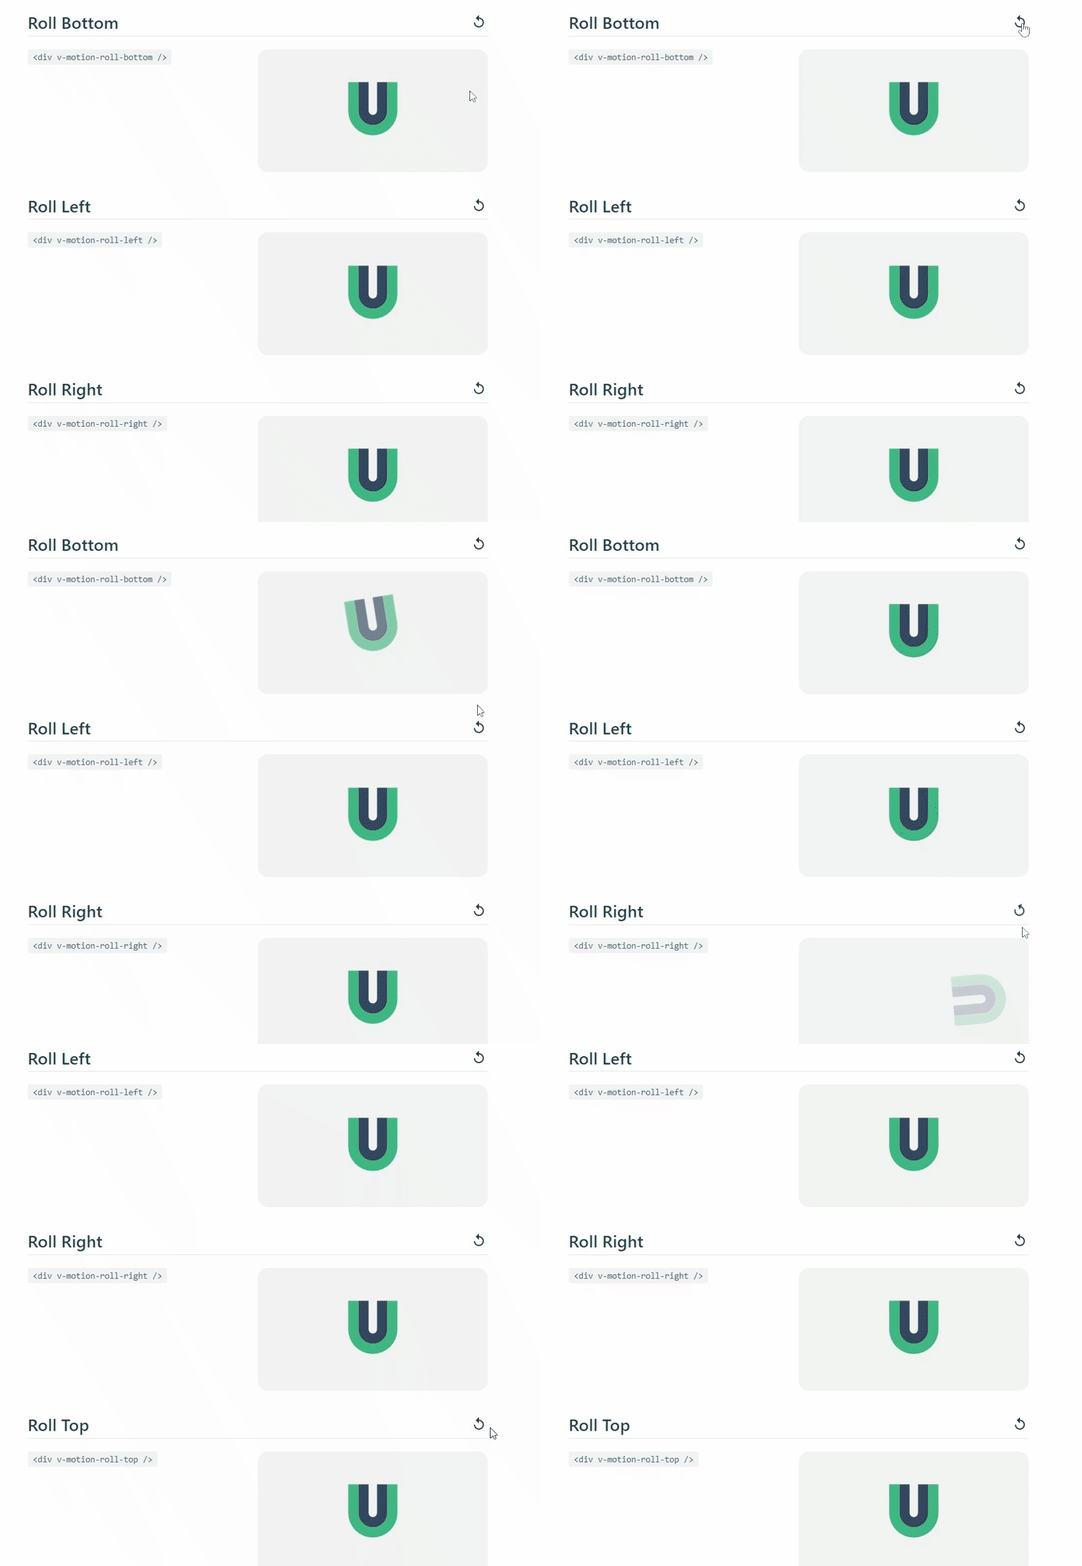
<template>
    <div v-motion-roll-bottom />
</template>
Or you can create your own custom animation with the help of the diretcive:
<template>
  <div
    v-motion
    :initial="{ opacity: 0, y: 100 }"
    :enter="{ opacity: 1, y: 0, scale: 1 }"
    :variants="{ custom: { scale: 2 } }"
    :hovered="{ scale: 1.2 }"
    :delay="200"
  />
</template>
Conclusion
Every animation library is unique and takes a different method to simplify things. There are several different animation libraries available as well. However, we've covered an overview of the key characteristics of the best ones in this post, along with instructions on how to use them.
With the help of this article, you should be able to select among the many animation libraries that are out there and discover one that properly matches your Vue.js application, no matter what your requirements may be.
